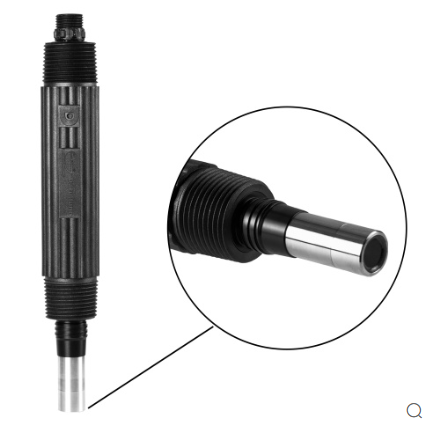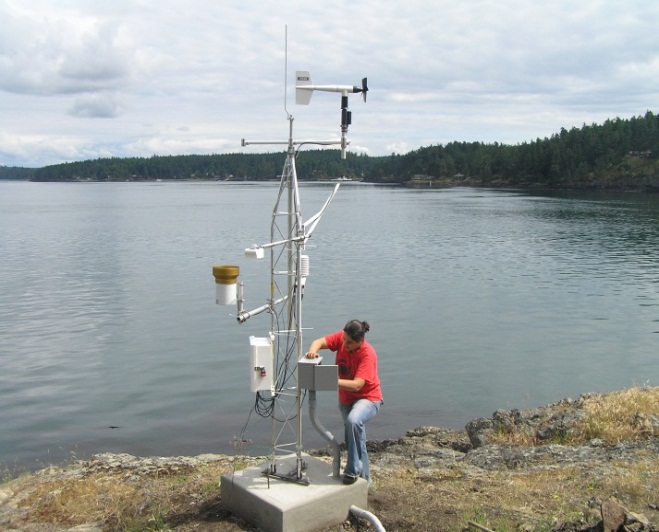
Mastering dissolved oxygen sensor for tilapia farming best practices is critical for profitability. This guide covers sensor selection, placement, calibration, and data-driven aeration to maximize yield and reduce mortality.
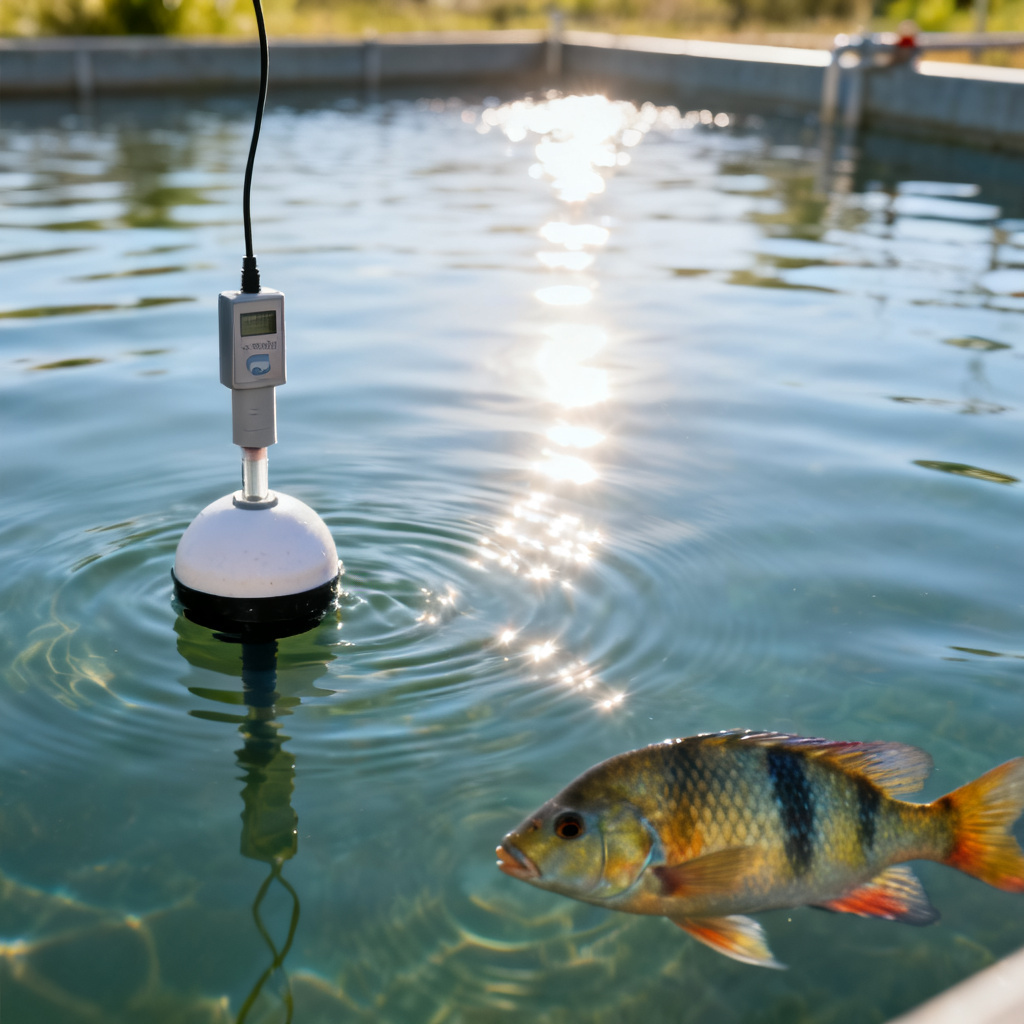
1. Understanding DO Needs of Tilapia with a Dissolved Oxygen Sensor
A dissolved oxygen sensor for tilapia farming must account for life-stage-specific requirements. Fry and fingerlings (under 30g) need 5-6 mg/L for optimal growth and immune development. Grow-out tilapia (30g to harvest) thrive at 4-5 mg/L; feed intake drops 30-50% below 2.5 mg/L. Broodstock require 5 mg/L+ for egg quality. The critical danger zone is below 1.5 mg/L, lethal within hours at high temperatures.
Set your dissolved oxygen sensor for tilapia farming to trigger alarms at 3.0 mg/L (warning) and 2.0 mg/L (critical action). Never rely on fish behavior alone—by the time tilapia surface-gasp, significant growth loss has occurred.
2. Choosing the Right Dissolved Oxygen Sensor Technology
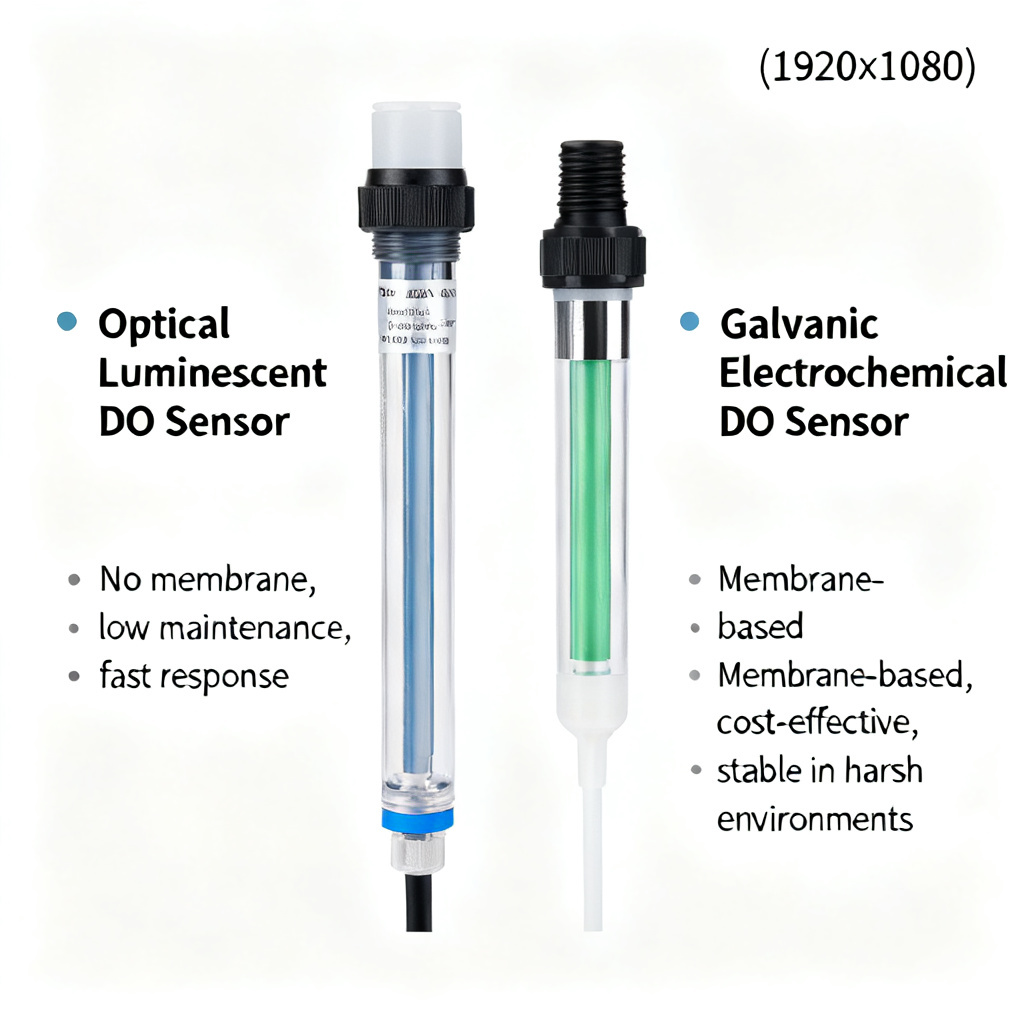
Three primary sensor technologies exist for dissolved oxygen sensor for tilapia farming; optical sensors are the gold standard for continuous monitoring.
2.1 Optical Dissolved Oxygen Sensors (LDO / ROX)
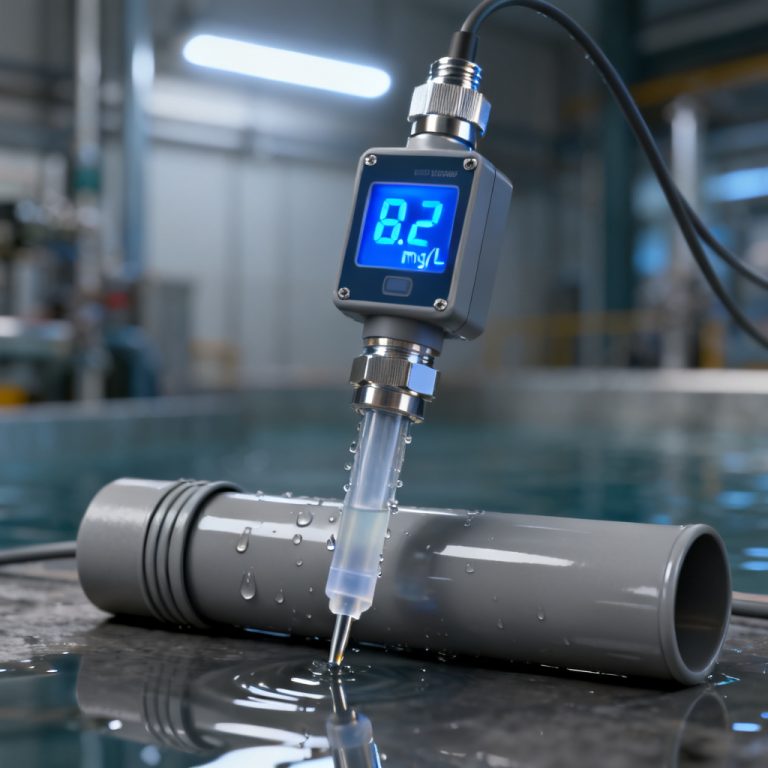
Optical dissolved oxygen sensor for tilapia farming uses luminescent dye—no oxygen consumed, no flow dependency, and no H₂S interference. Best for continuous long-term monitoring in ponds, RAS, and hatcheries. Higher initial cost (€300-€800) but low maintenance with cap replacement every 1-2 years.
2.2 Galvanic / Electrochemical Sensors
Galvanic dissolved oxygen sensor for tilapia farming is lower cost (€100-€300) but requires flow (0.3 m/s), membrane cleaning, and is prone to H₂S poisoning. Suitable for portable spot-checking or budget-conscious farms.
2.3 Polarographic Sensors (Clark Cell)
Polarographic dissolved oxygen sensor for tilapia farming is sensitive but fragile—high maintenance, not recommended for commercial tilapia farming.
Best practice: Install an optical sensor as primary, keep a portable galvanic meter for cross-verification.
3. Sensor Placement & Installation Best Practices for Dissolved Oxygen Sensor
Correct placement of your dissolved oxygen sensor for tilapia farming prevents false readings and wasted aeration energy.
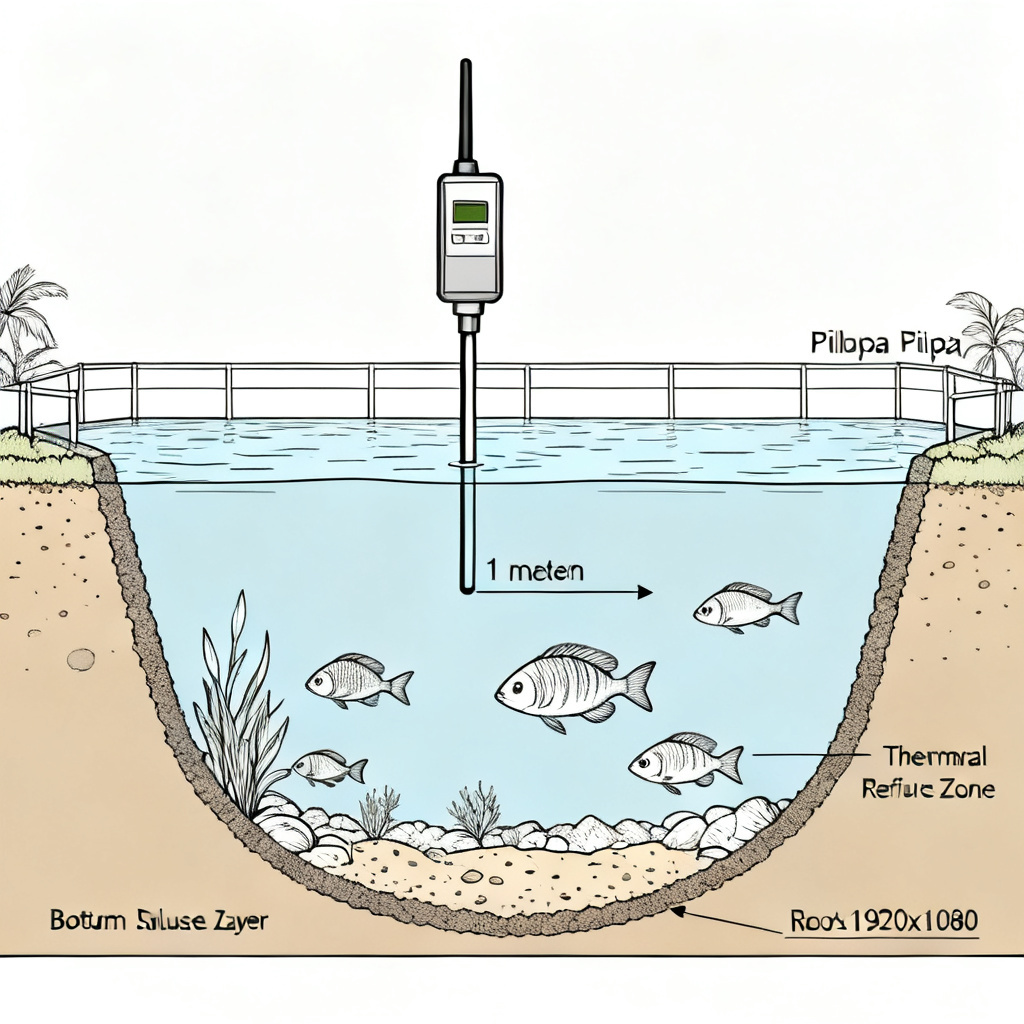
3.1 Pond Culture
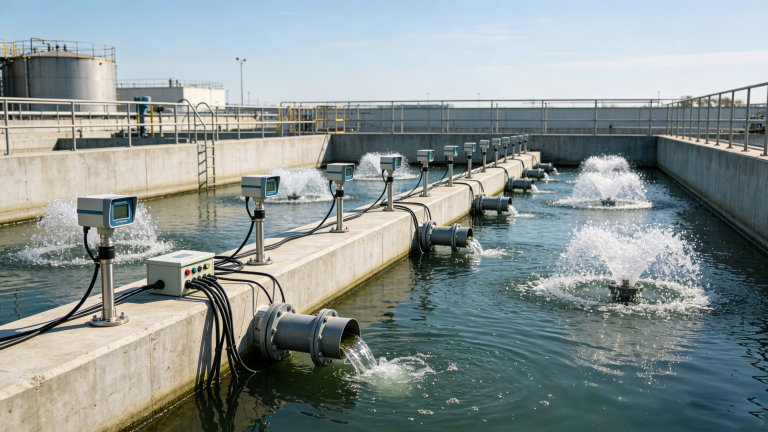
Install the dissolved oxygen sensor for tilapia farming 1 meter below the surface at the pond’s deepest point—the thermal refuge where tilapia gather. Avoid surface water (supersaturated by day, depleted at night) and bottom sediment (H₂S zone). For ponds deeper than 2 meters, use a multi-depth array.
3.2 RAS (Recirculating Aquaculture Systems)
Place the dissolved oxygen sensor for tilapia farming after the biofilter, before the culture tank inlet (measure incoming DO). A secondary sensor inside the tank near the outlet measures fish experience. Avoid biofilter outflow (turbulence) or near aeration stones (supersaturated bubbles).
3.3 Cage Culture
Mount the dissolved oxygen sensor for tilapia farming inside the cage at 50-70% depth. Surface sensors overestimate, bottom sensors underestimate DO due to fish respiration and waste.
3.4 General Maintenance Rules
- Clean the sensor membrane every 2-4 weeks with a soft cloth.
- Calibrate optical sensors every 3-6 months (2-point: 0% and 100% saturated air).
- Replace sensor caps every 12-24 months (drifting reading = first sign of cap degradation).
- Protect from direct sunlight—use a shade or PVC housing.
4. Data-Driven Aeration Strategies with Dissolved Oxygen Sensor
Real-time data from your dissolved oxygen sensor for tilapia farming enables matching aeration to biological demand, avoiding both hypoxia and energy waste.
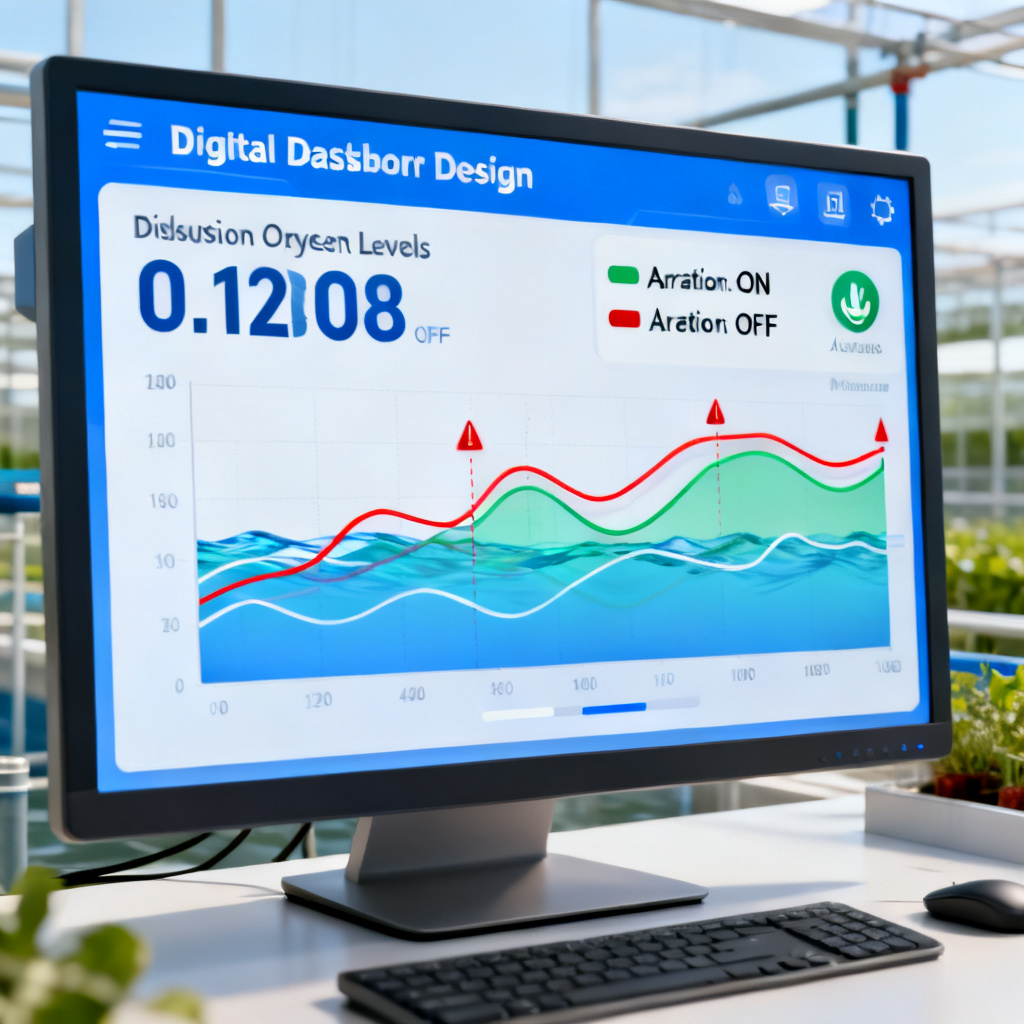
4.1 The Trigger Point Method
Set low-level alarms at 3.0 mg/L (warning) and 2.5 mg/L (critical). Automate aeration using a PLC or controller to activate paddlewheels, diffusers, or pure oxygen when DO drops below 3.5 mg/L. The highest risk period is 2:00 AM to 6:00 AM—if consistent dips occur, increase night aeration.
4.2 Feeding Optimization
Feed only when DO > 4.0 mg/L. FCR worsens by 0.1-0.2 per 1 mg/L drop below 5 mg/L. Stop feeding 30 minutes before aeration shutdown. Use the dissolved oxygen sensor for tilapia farming to detect overfeeding—a sudden DO drop 1-2 hours post-feed indicates uneaten feed decomposition.
4.3 Energy Savings Through Variable Speed Aeration
Traditional 24/7 paddlewheel operation wastes up to 40% energy during daytime photosynthesis. Use sensor data to run aeration only when needed: daytime (10 AM-4 PM) reduce to 20% speed; night-time (10 PM-6 AM) run 80-100%; cloudy days increase by 30-50%. Result: 30-50% electricity reduction.
4.4 Emergency Response Plan
If DO drops to 1.5 mg/L: turn on all aeration immediately, stop feeding, add hydrogen peroxide or sodium percarbonate as emergency oxygen source, harvest partial stock if chronic, and check sensor calibration.
5. Troubleshooting Common Dissolved Oxygen Sensor Issues in Tilapia Farms
Even the best dissolved oxygen sensor for tilapia farming can fail. The table below covers top issues.
| Issue | Symptom | Likely Cause | Solution |
|---|---|---|---|
| Drifting readings | DO slowly changes over days | Biofilm on membrane; sensor cap aging | Clean membrane; replace cap if >1 year old |
| Erratic readings | DO jumps ±0.5 mg/L | Air bubbles; electrical interference | Gently shake sensor; check wiring; move away from VFDs |
| Consistently low | DO reads 0-1 mg/L but fish fine | Sensor buried in sludge; H₂S poisoning (galvanic) | Relocate to clear water; switch to optical sensor |
| Consistently high | DO reads 10-12 mg/L but fish lethargic | Direct sunlight; near aeration stones | Shade sensor; move away from diffusers |
| No reading / error | “Err” or 0.0 | Damaged cable; dry cap; corroded connector | Check cable; replace cap; clean contacts |
6. Cost-Benefit Analysis of Dissolved Oxygen Sensor Investment
Investing in a dissolved oxygen sensor for tilapia farming has clear financial returns. A single optical sensor system costs €800-€2,000. A severe hypoxia event can cause 5-10% mortality (€2,000-€5,000 loss) plus reduced feed intake. Annual savings from optimized aeration: €1,000-€5,000 per pond. Improved FCR of 0.1 saves €5,000-€10,000 on 100-ton harvest. Payback: 3-9 months.
Optical sensors outperform electrochemical alternatives in tilapia farming due to no flow dependency, no H₂S interference, and lower maintenance—making them the professional choice for continuous monitoring.
FAQ: Dissolved Oxygen Sensor for Tilapia Farming
What is the best dissolved oxygen sensor for tilapia farming?
Optical (luminescent) sensors are best for continuous tilapia farming monitoring due to no flow dependency, no H₂S interference, and low maintenance.
How often should I calibrate my dissolved oxygen sensor for tilapia farming?
Calibrate every 3-6 months using a 2-point calibration (0% and 100% saturated air). Clean the membrane every 2-4 weeks.
Where should I place the dissolved oxygen sensor in a tilapia pond?
Install the sensor 1 meter below the surface at the pond’s deepest point—the thermal refuge where tilapia gather during hot afternoons.
Can a dissolved oxygen sensor save energy in tilapia farming?
Yes. Data-driven aeration using sensor readings can reduce electricity costs by 30-50% by matching aeration to biological demand.
What is the ideal DO level for tilapia growth?
Optimal DO for grow-out tilapia is 4-5 mg/L. Below 3 mg/L, feed intake drops significantly. Critical danger zone is below 1.5 mg/L.