In aquaculture, DO sensor placement in earthen ponds directly determines data reliability for aeration and feeding decisions. Even the most advanced dissolved oxygen sensor will generate misleading data if placed incorrectly in an earthen pond. Earthen ponds are not homogeneous mixing tanks; they are dynamic, stratified environments where temperature, biological activity, and water chemistry vary dramatically from the surface to the sediment. The decision to place your sensor at the top, middle, or bottom of the water column is a strategic choice that dictates the quality of your data and the effectiveness of your aeration and feeding regimes.
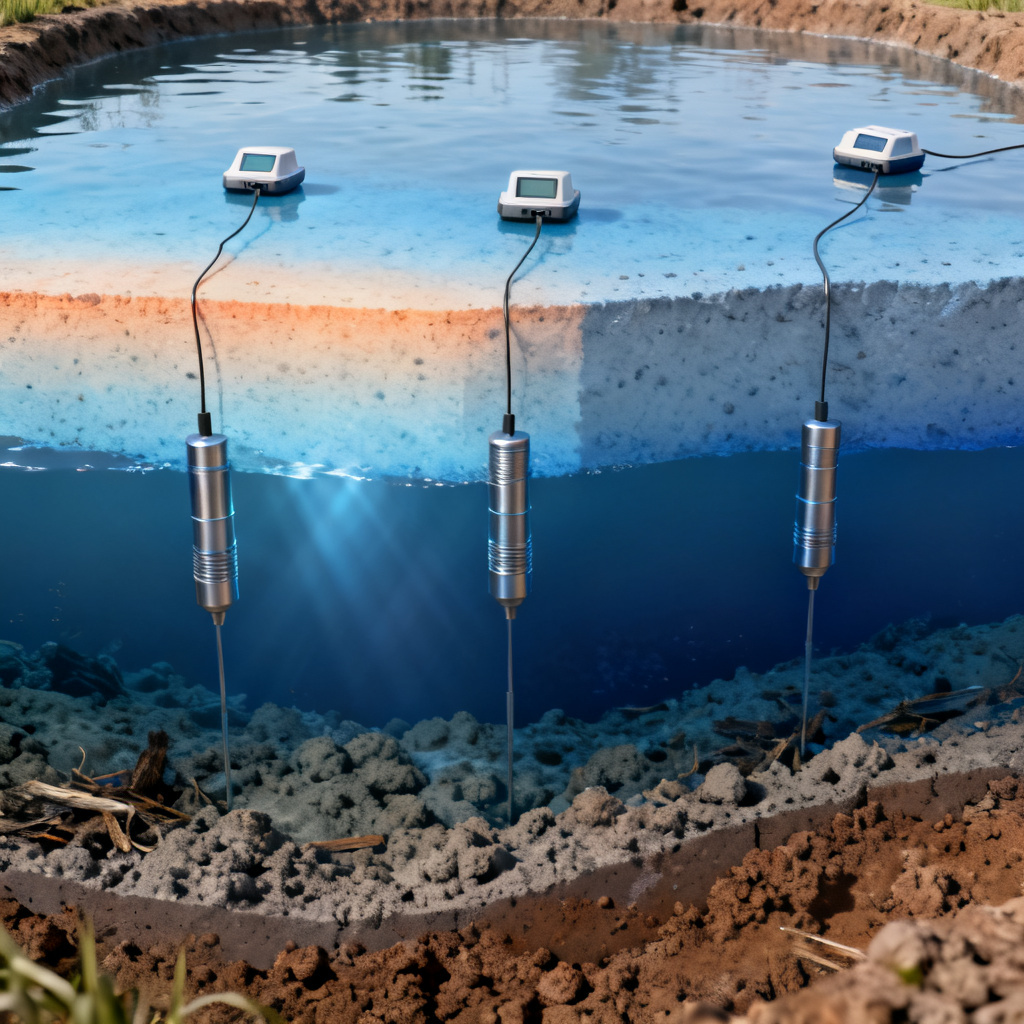
Table of Contents
- Why Stratification Dictates Placement
- Top Layer Analysis
- Middle Layer Analysis
- Bottom Layer Analysis
- Decision Framework
- Installation and Maintenance
- Special Considerations
- Final Recommendation
- FAQ
The Physics and Biology of an Earthen Pond: Why Stratification Dictates Placement
Before selecting a depth for your DO sensor placement in earthen ponds, you must understand the forces that create DO gradients. Unlike concrete tanks or raceways, earthen ponds have a significant sediment layer and a large surface area exposed to sunlight and wind.
Thermal Stratification
During warm months, the sun heats the surface water, creating a warmer, less dense epilimnion (top layer). This layer is separated from the cooler, denser hypolimnion (bottom layer) by a sharp temperature gradient called the thermocline. This thermocline acts as a physical barrier, preventing vertical mixing. The hypolimnion can become severely oxygen-depleted because it is isolated from atmospheric reaeration and photosynthesis at the surface.
The Diurnal Cycle of DO
DO in earthen ponds follows a predictable 24-hour cycle. During daytime, photosynthesis peaks; phytoplankton and submerged plants produce oxygen, and the top layer (0-1 meter) can become supersaturated (200-300% DO saturation). At nighttime, respiration dominates; all organisms (fish, plankton, bacteria) consume oxygen. DO drops across all depths, but the bottom layer is the first to crash, often reaching hypoxic (<2 mg/L) or anoxic (<0.5 mg/L) levels by dawn.
Biological Oxygen Demand (BOD) and Sediment Oxygen Demand (SOD)
BOD from decomposing organic matter (uneaten feed, feces, dead algae) consumes oxygen, with the highest concentration at the pond bottom. SOD from the sediment layer itself exerts a constant oxygen demand. Bacteria at the sediment-water interface consume DO at a high rate, creating a steep oxygen gradient just above the mud. A single sensor placed arbitrarily will only tell you about the DO at that specific point in space and time. It cannot predict conditions elsewhere in the pond. This is why depth selection is a risk-management decision.
Top Layer (Surface to 0.5 meters)
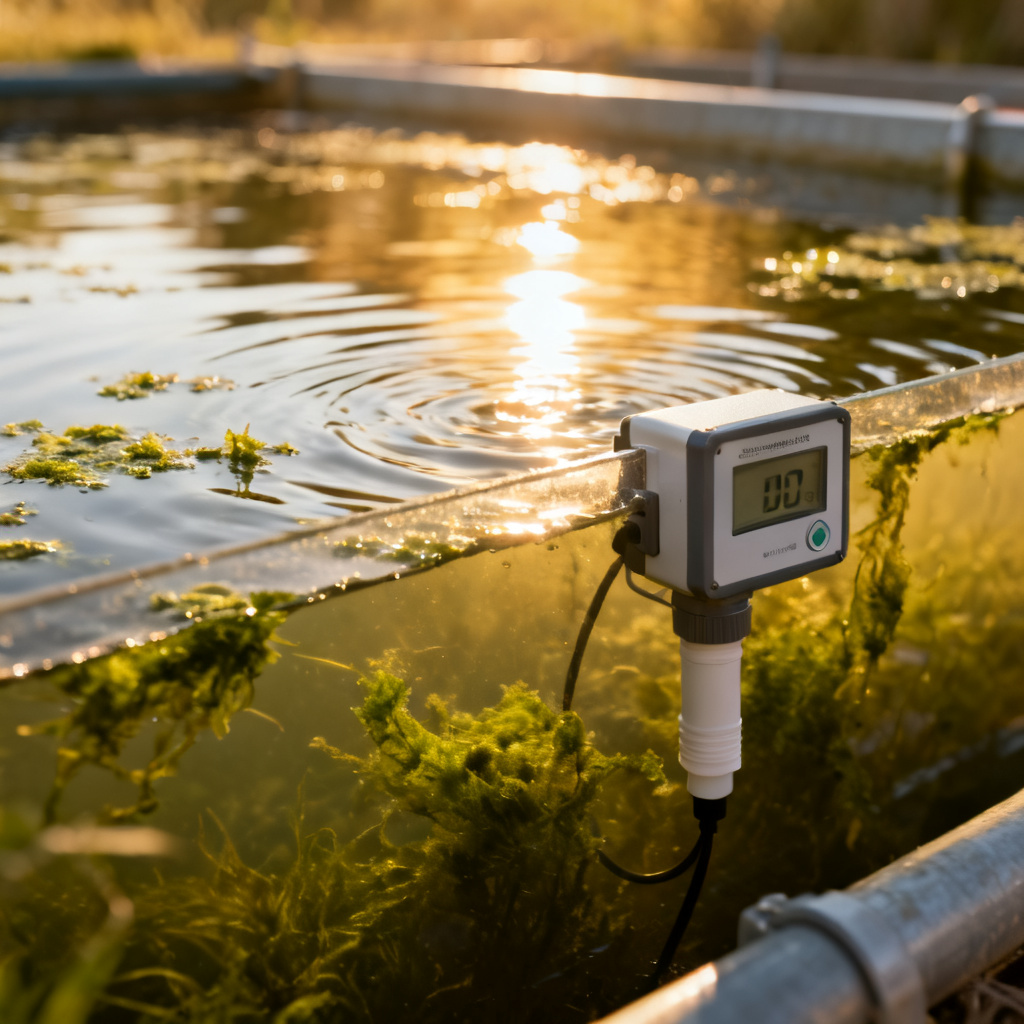
The top layer is the most influenced by atmospheric reaeration and wind mixing. It is often the highest DO zone during the day but can be deceptive. Supersaturation here does not reflect conditions where fish live and feed. Placing a sensor at the top is common for alarm systems that warn of sudden oxygen crashes, but it is the least representative of the average pond condition. It is also highly susceptible to biofouling from sunlight and algae. In ponds with heavy aeration (paddlewheels, diffusers), the top layer is well-mixed and may be a valid reference point for aeration control. However, relying solely on top-layer data often leads to a false sense of security.
When to Place a Sensor at the Top
- Early Warning for Aeration Failure: If your primary goal is to detect a catastrophic aeration shutdown (e.g., power outage), a top-layer sensor will give you the fastest alarm because the DO here drops first when aeration stops.
- Monitoring Supersaturation: In high-density shrimp ponds, gas bubble disease can occur due to supersaturation. A top sensor is essential for detecting this risk.
- Reference for Stratification Studies: When used in conjunction with a bottom sensor, a top sensor helps quantify the DO gradient and thermocline strength.
Risks and Limitations
- False High Readings: During sunny afternoons, the top layer may show 15-20 mg/L while the bottom is at 1 mg/L. A farmer relying on this reading would not aerate, leading to fish stress or death.
- Wave Action Interference: Surface waves can cause erratic readings if the sensor is too shallow.
- Rapid Biofouling: Direct sunlight accelerates algal growth on the sensor’s optical window, requiring frequent cleaning (daily in some cases).
Recommended Use Case: Pair with a bottom sensor for a complete profile. Never use alone for feeding or aeration decisions.
Middle Layer (0.5 to 1.5 meters, depending on pond depth)
The middle layer is a compromise zone. In shallow ponds (<1.5m), the middle is often the most stable and representative of the average DO that most fish experience. It is less affected by surface supersaturation and less influenced by sediment demand. For ponds with a depth of 1.5-2 meters, placing the sensor at 1.0 meter is a widely recommended best practice for general monitoring. It avoids the extremes of the top and bottom. The middle layer is ideal for controlling aeration in moderately stocked ponds. When DO at this depth falls below 3-4 mg/L, it signals that aeration is needed before the bottom layer becomes critical.
When to Place a Sensor in the Middle
- General Pond Health Monitoring: If you have a single sensor and need a one-size-fits-all solution, the middle layer is your best bet for most earthen ponds.
- Feeding Management: Since fish often feed in the water column (not at the very bottom or surface), the middle layer DO is most relevant for deciding whether to feed. Feeding is typically stopped when DO is below 3 mg/L.
- Ponds with Moderate Aeration: In ponds where aeration is used intermittently, the middle layer provides a balanced view of the mixing effectiveness.
Risks and Limitations
- Not a True Worst-Case Sensor: It will not capture the dawn DO crash at the bottom, which is the most dangerous event for benthic-feeding species like shrimp and catfish.
- Thermocline Sensitivity: In deeper ponds (>2m), the middle layer may sit right on the thermocline. A slight temperature shift can move the thermocline up or down, causing sudden DO swings that are not representative of the entire pond.
Recommended Use Case: The primary sensor for standard aquaculture operations with moderate stocking densities and a single aeration point.
Bottom Layer (Within 15-30 cm of the sediment)
This is the most critical zone for benthic species (shrimp, prawns, catfish). The sediment-water interface is where oxygen demand is highest. A sensor here provides the earliest warning of impending hypoxia. Bottom sensors are most prone to fouling by sediment and bacterial slime. For high-density shrimp ponds, placing the sensor at the bottom is non-negotiable. Shrimp spend 90% of their time on the pond floor. If the bottom DO is low, they will be stressed, stop feeding, and become susceptible to disease (e.g., Vibrio, EMS). Bottom DO is the primary driver of feed conversion ratio (FCR). Bottom placement is essential for managing aeration efficiency. If the bottom DO is low (<2 mg/L) despite top-layer readings being high, it indicates poor mixing or excessive sediment oxygen demand. This signals a need for diffused aeration (e.g., air stones) rather than surface agitators.
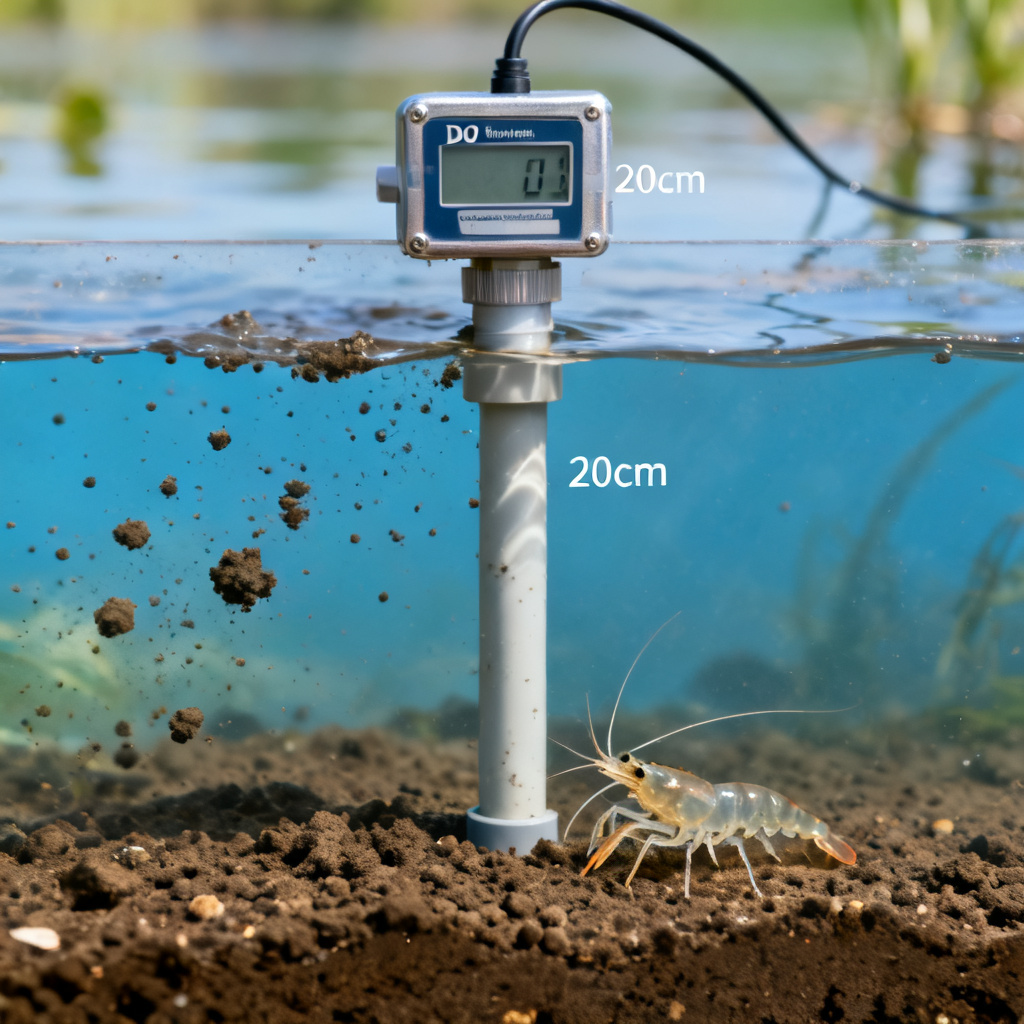
When to Place a Sensor at the Bottom
- High-Density Shrimp Farming: Absolute requirement. The bottom DO is the lifeblood of the crop.
- Ponds with High Organic Load: If you have heavy feeding rates or a history of sludge buildup, the bottom sensor is your risk management tool.
- Evaluating Aeration Effectiveness: To verify that your aeration system is actually oxygenating the bottom zone, not just the surface.
- Dawn Detection: The bottom layer experiences the lowest DO at dawn. A sensor here will trigger aeration earlier, preventing a crash.
Risks and Limitations
- Fouling is Severe: Sediment, bacterial slime, and even burrowing organisms can cover the sensor. Requires robust anti-fouling coatings (e.g., copper-based or mechanical wipers) and frequent calibration checks.
- Physical Damage: Earthen ponds have uneven bottoms. The sensor can be buried by shifting sediment or damaged by equipment (e.g., harvest nets, aeration lines).
- Spatial Variability: One bottom sensor only represents a few square meters. If the pond has deep pockets or mounds, the reading may not be representative.
Recommended Use Case: Mandatory for shrimp and high-value species. Best used in a network of 2-3 sensors per pond to account for spatial variability.
Decision Framework: How to Choose Your Placement
To help you make a data-driven decision for DO sensor placement in earthen ponds, use this priority matrix based on your specific operation:
| Pond Type / Species | Primary Sensor Depth | Secondary Sensor Depth | Rationale |
|---|---|---|---|
| High-Density Shrimp (Litopenaeus vannamei) | Bottom (15-30 cm above sediment) | Top (for supersaturation) | Shrimp are benthic. Bottom DO controls survival, FCR, and disease resistance. |
| Tilapia / Catfish (Feeding at mid-water) | Middle (1.0-1.5m) | Bottom (for early warning) | Tilapia can tolerate lower DO but will stop feeding. Middle layer is most representative of feeding zone. |
| Low-Density Polyculture | Middle (1.0m) | None | A single sensor at mid-depth is adequate for general trend monitoring. |
| Research / Environmental Monitoring | Top, Middle, Bottom (3 sensors) | N/A | A full profile is required to study stratification, thermocline dynamics, and SOD. |
| Ponds with Heavy Surface Aeration | Bottom | Top (for aeration control) | Surface aeration creates a false high at the top. The bottom sensor tells you if the mixing is effective. |
| Ponds with Diffused Aeration (Air stones) | Bottom | Middle | Diffused aeration lifts bottom water. A bottom sensor near the diffuser will show the effect of aeration on the worst-case zone. |
Practical Installation and Maintenance
Physical Installation
Never hang a sensor from a rope on the bank. Use a rigid PVC pipe or a weighted buoy system to keep the sensor at a fixed depth. The sensor should be mounted horizontally or at a 45-degree angle to prevent air bubbles from collecting on the sensing element (optical sensors). Place the sensor at least 3-5 meters away from paddlewheels or aerators. Too close, and you will measure the immediate output of the aerator, not the pond’s average condition. Too far, and you may miss the impact of aeration. Do not place the sensor directly under a feeding ring; the high BOD from feed accumulation will give a falsely low reading. For bottom sensors, place the sensor on a small platform (e.g., a concrete block or a PVC stand) to keep it 15-30 cm above the mud. This prevents burial and reduces fouling from resuspended sediment.
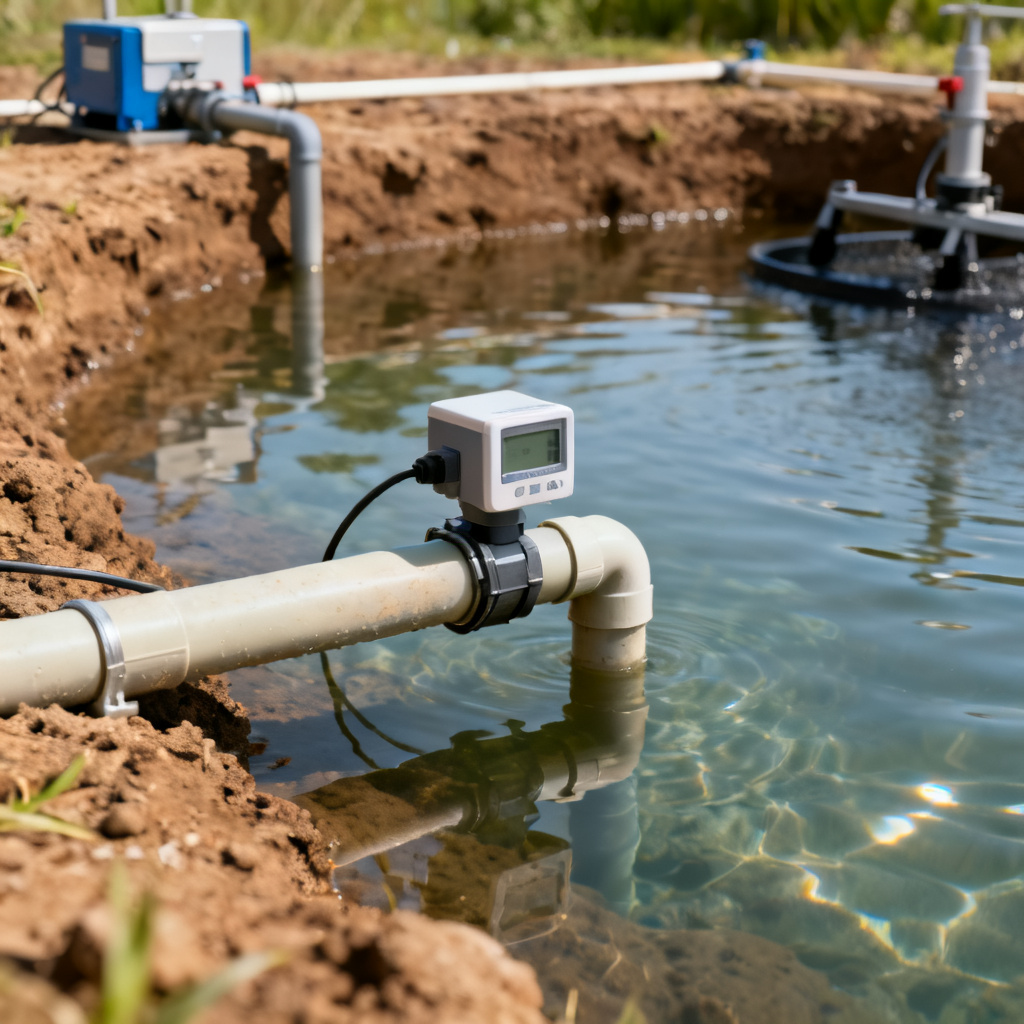
| Installation Parameter | Specification |
|---|---|
| Sensor Mounting | Rigid PVC pipe or weighted buoy |
| Sensor Orientation | Horizontal or 45-degree angle |
| Distance from Aeration | 3-5 meters |
| Distance from Feeders | Avoid direct placement under feeding rings |
| Bottom Sensor Height | 15-30 cm above sediment |
Biofouling Management
Optical sensors (e.g., luminescent DO) are less prone to drift than electrochemical sensors but are still vulnerable to algal and bacterial slime. In earthen ponds, expect to clean the sensor window every 3-7 days during summer. Anti-fouling solutions include copper guards (effective but can be toxic to shrimp in very soft water), mechanical wipers (reduce cleaning frequency to weekly or bi-weekly), and chemical cleaning (a weekly wipe with a soft cloth and a mild detergent is the minimum standard). Perform a saturation check in water-saturated air (e.g., over a wet sponge in a sealed bag) monthly. For bottom sensors, do this every two weeks.
Data Interpretation and Alarms
Set alarms conservatively. Alarm Level 1 (Caution) is 3.5 mg/L for bottom sensor; 2.5 mg/L for middle sensor. Alarm Level 2 (Critical) is 2.0 mg/L for bottom sensor; 1.5 mg/L for middle sensor. A healthy pond shows a clear diurnal cycle. If the DO remains flat (no daytime peak), it suggests low phytoplankton density or a toxic algae bloom. If the DO drops rapidly after sunset, it indicates excessive BOD. Do not react to a single low reading. Look for a downward trend over 3-4 hours. A sudden drop of 1 mg/L in 30 minutes is more alarming than a gradual decline over 4 hours.
Special Considerations for Earthen Ponds
Pond Depth Variability
Earthen ponds are rarely perfectly flat. Place the sensor at the deepest point of the pond (typically near the drain or harvest basin). This is the worst-case location because it has the highest water volume and the greatest potential for stratification and oxygen depletion.
Wind and Fetch
Wind-driven mixing can homogenize the top 1-2 meters. In a large pond (>2 hectares) with a long fetch, the windward side may be better mixed than the leeward side. If you have only one sensor, place it on the leeward side (downwind), as this is where DO depletion often occurs first due to organic matter accumulation.
Seasonal Adjustments
In summer, stratification is strongest, so a bottom sensor is critical. In winter, in temperate climates, the pond may turn over (destratify) in fall and spring. During these periods, DO can be uniform from top to bottom, but the bottom may still have slightly lower DO due to SOD. A single middle sensor is often sufficient in winter for low-density operations.
Multiple Sensors per Pond
For large commercial ponds (>5 hectares) or high-density operations, one sensor is insufficient. Use 1 sensor per 2-3 hectares for basic monitoring, or 2-3 sensors per pond for precision farming (e.g., one at the deep end, one near the aerator, one at the shallow end). A single sensor at the bottom is better than a sensor at the top in 90% of cases for B2B aquaculture.
The Top vs. Bottom Debate: A Final Recommendation
After synthesizing all expert sources, a clear consensus emerges: For 90% of commercial earthen pond operations, the bottom layer (within 15-30 cm of the sediment) is the single most important and informative location for a DO sensor. The reason is simple: risk management. The bottom of the pond is where the worst conditions occur. It is where oxygen demand is highest, where stratification isolates the water, and where your most sensitive species (shrimp, benthic fish) live. A bottom sensor gives you the earliest warning of a crisis.
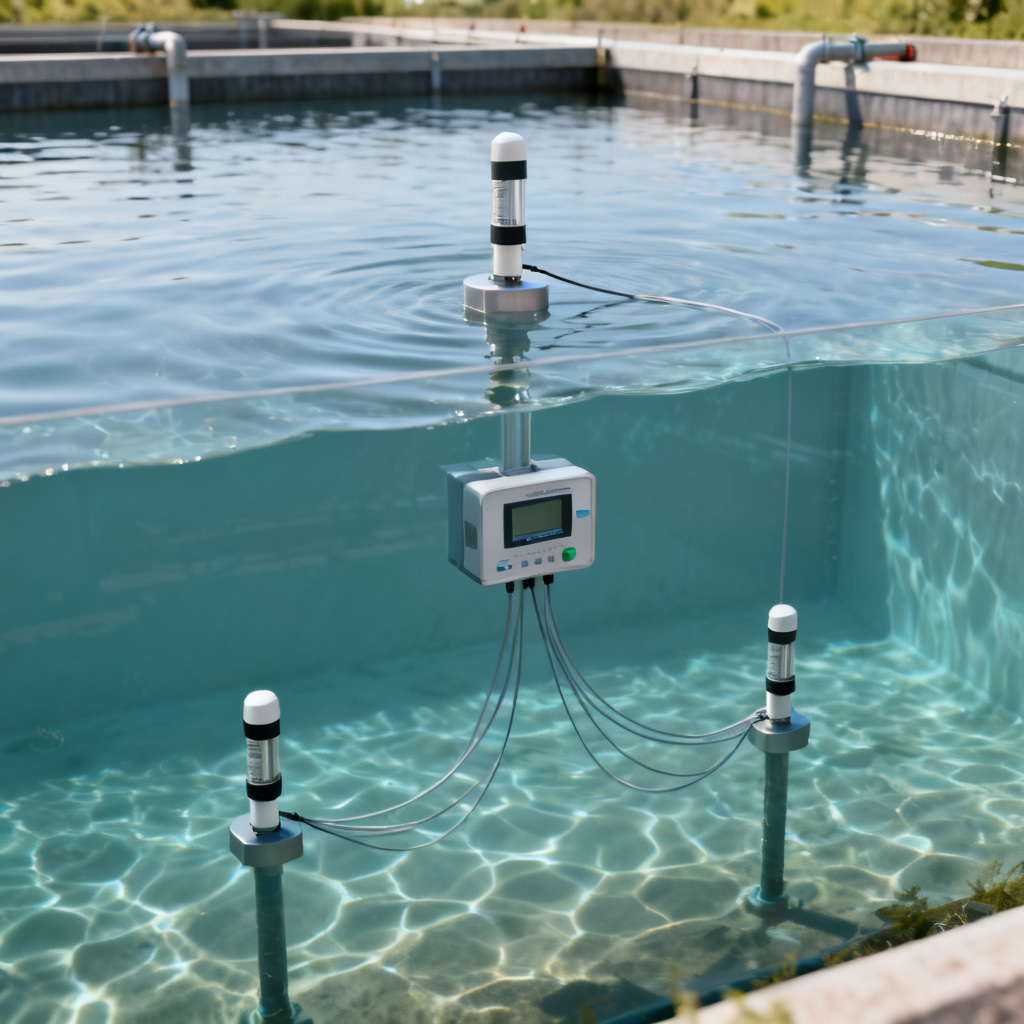
However, the middle layer is a strong second choice if you have a single sensor for general pond management, particularly for mid-water feeding species like tilapia. The top layer is only recommended as a secondary sensor for supersaturation monitoring or aeration control. The ultimate best practice is to install at least two sensors per pond—one at the bottom and one at the middle. This dual-sensor approach gives you early warning from the bottom sensor (the canary in the coal mine), operational data from the middle sensor (for feeding and aeration decisions), and stratification insight by comparing the two readings.
Frequently Asked Questions about DO Sensor Placement in Earthen Ponds
What is the best depth for DO sensor placement in earthen ponds?
The best depth for DO sensor placement in earthen ponds depends on your species and goals. For benthic species like shrimp, the bottom layer (15-30 cm above sediment) is critical. For mid-water feeding species like tilapia, the middle layer (1.0-1.5m) is recommended. For general monitoring with a single sensor, the middle layer is a safe compromise.
Why is bottom DO sensor placement recommended for shrimp farming?
Bottom DO sensor placement in earthen ponds is recommended for shrimp farming because shrimp spend 90% of their time on the pond floor. Low bottom DO directly stresses shrimp, stops feeding, and increases disease susceptibility. A bottom sensor provides the earliest warning of hypoxia, which is essential for survival and FCR optimization.
How often should I clean a DO sensor placed at the bottom of an earthen pond?
For a DO sensor placed at the bottom of an earthen pond, cleaning is typically required every 3-7 days during summer due to sediment and bacterial slime. Using mechanical wipers or copper guards can extend this interval to weekly or bi-weekly. Regular calibration checks every two weeks are also recommended for bottom sensors.
Can I use a single DO sensor for my entire earthen pond?
Yes, but with limitations. A single DO sensor placement in earthen ponds can work for small ponds (<2 hectares) or low-density operations when placed at the middle or bottom. For larger ponds or high-density farming, multiple sensors (2-3 per pond) are recommended to account for spatial variability and stratification.
What is the difference between top, middle, and bottom DO sensor placement?
Top DO sensor placement in earthen ponds monitors surface conditions influenced by wind and photosynthesis, but can give false high readings. Middle placement offers a balanced view of the water column and is ideal for feeding decisions. Bottom placement monitors the worst-case zone with the highest oxygen demand, critical for benthic species and early warning of hypoxia.