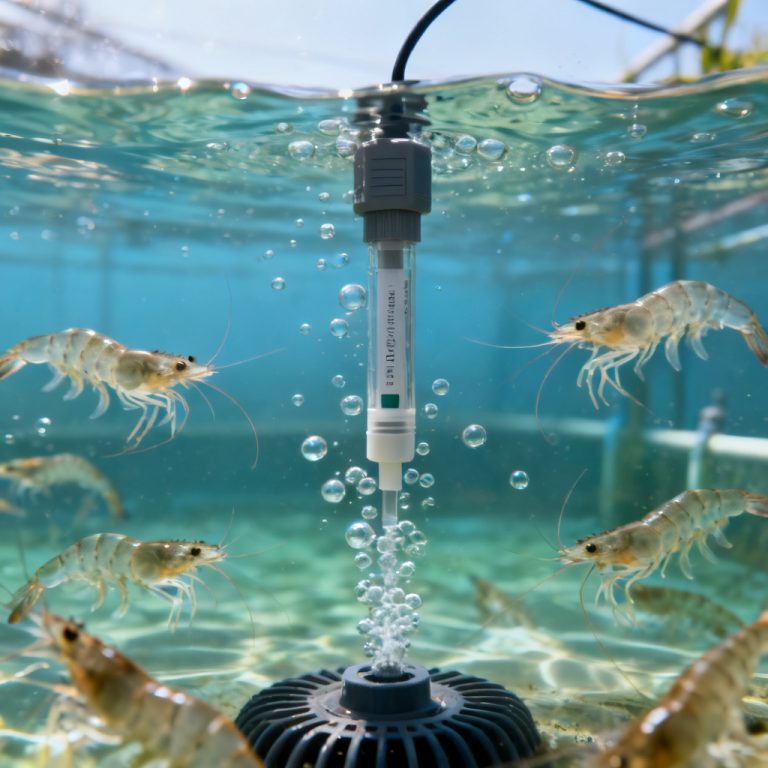
Learning how to clean an optical DO sensor without damaging the cap is essential for maintaining accurate dissolved oxygen readings and extending sensor lifespan in industrial, aquaculture, and laboratory applications. Unlike electrochemical sensors, optical DO sensors rely on a delicate fluorescent cap that is easily ruined by improper cleaning methods. This guide consolidates best practices from leading industry experts to ensure safe, effective cleaning every time.
Why Proper Cleaning of an Optical DO Sensor Cap Matters
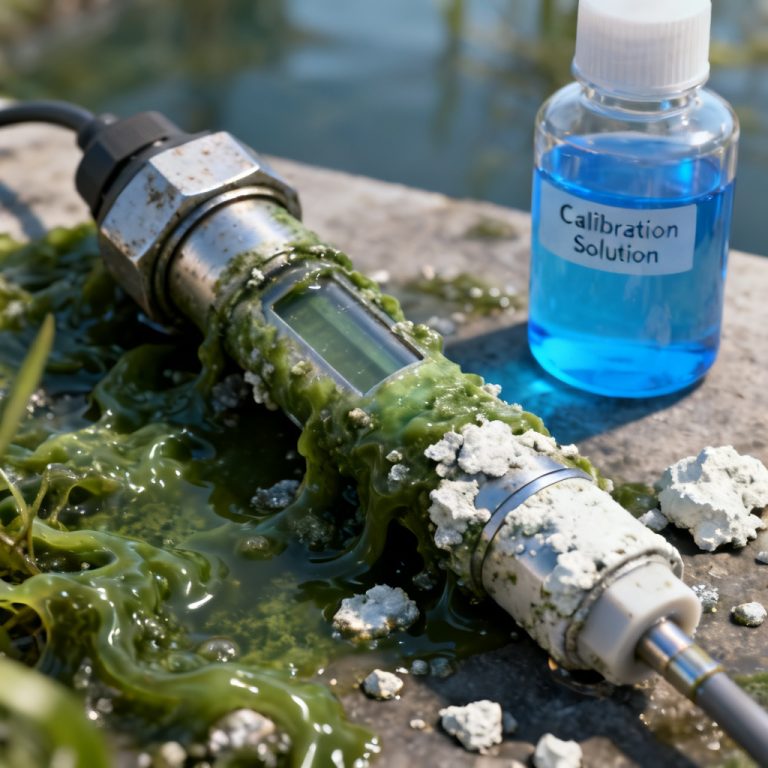
Optical DO sensor caps are precision components made from gas-permeable membranes and fluorescent dye layers. Contaminants like biofouling, oils, and mineral scale block oxygen diffusion, causing signal drift and slow response. Aggressive cleaning can scratch, swell, or delaminate the cap, leading to costly replacements. Proper maintenance preserves accuracy and reduces operational downtime.
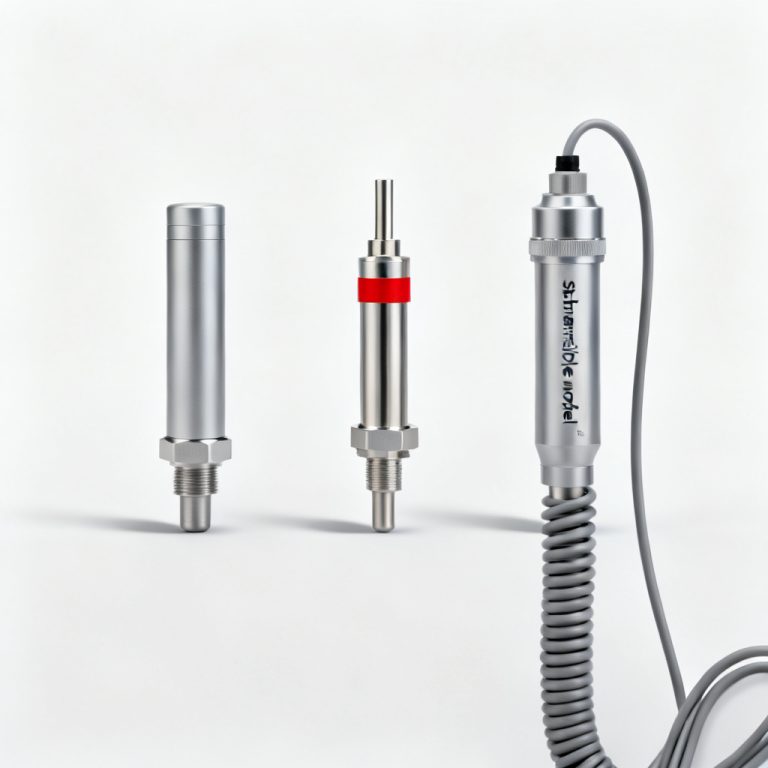
Understanding Optical DO Sensor Cap Construction
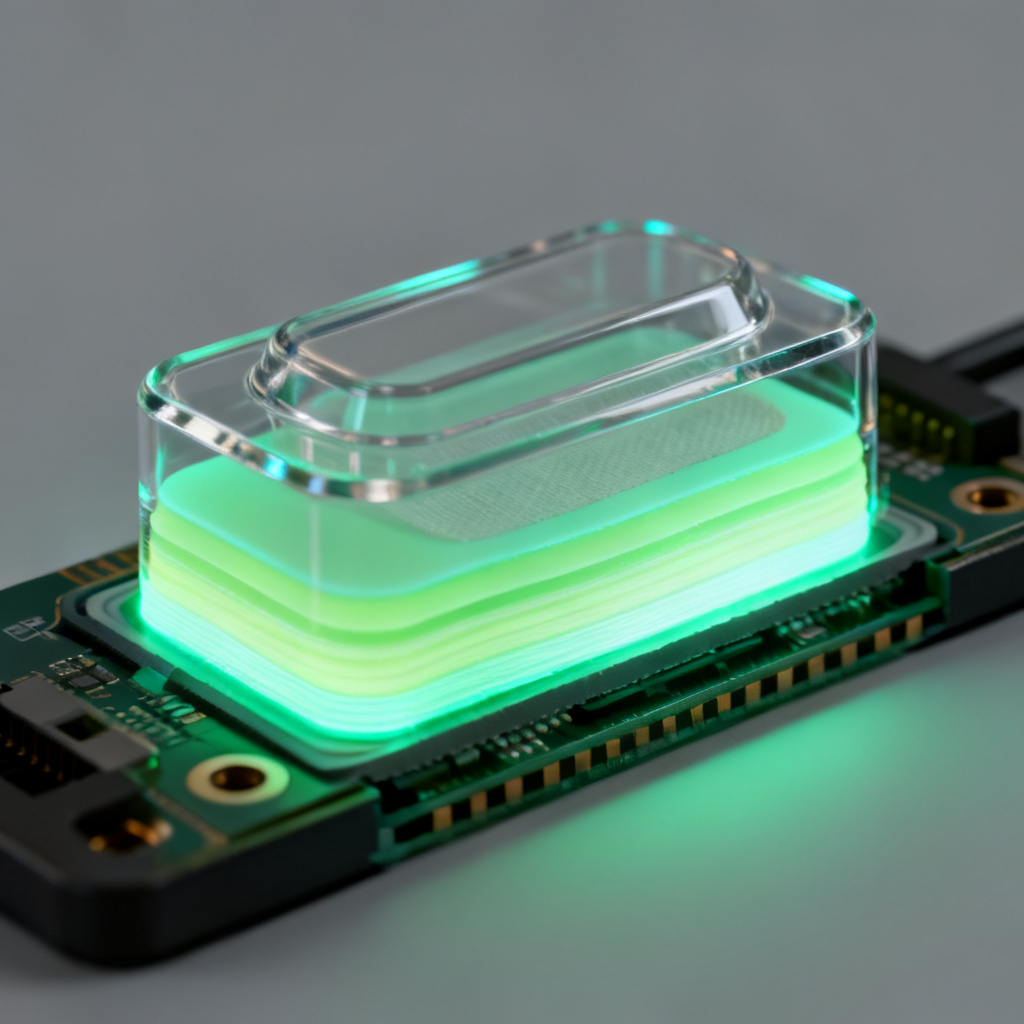
The cap typically consists of a thin silicone or Teflon-based membrane, a fluorescent dye layer embedded in a polymer matrix, and a protective outer coating. This composite structure is soft and easily damaged by abrasives, harsh solvents, or prolonged soaking. Always treat the cap as a consumable but extendable component.
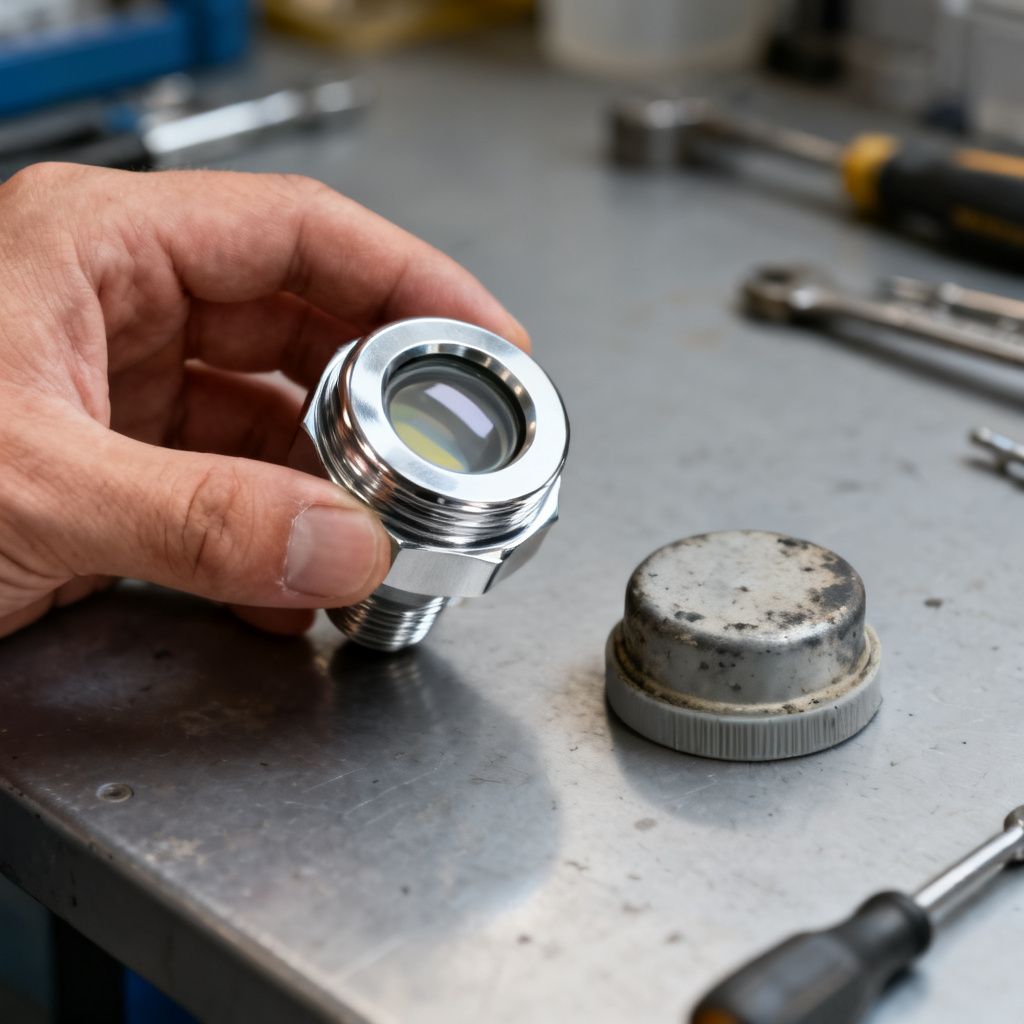
Pre-Cleaning Inspection to Avoid Damage
Before cleaning, inspect the cap for cracks, tears, or discoloration. Check for biofouling (green algae, brown diatoms), mineral scale (white crusty deposits), or oil films. Refer to the manufacturer’s manual for specific recommendations. A preliminary rinse with deionized (DI) water helps assess contamination without rubbing debris into the membrane.
Safe Methods to Clean an Optical DO Sensor Cap
Start with the gentlest method and escalate only if needed. The following techniques are universally recommended by top sensor manufacturers and industry experts.
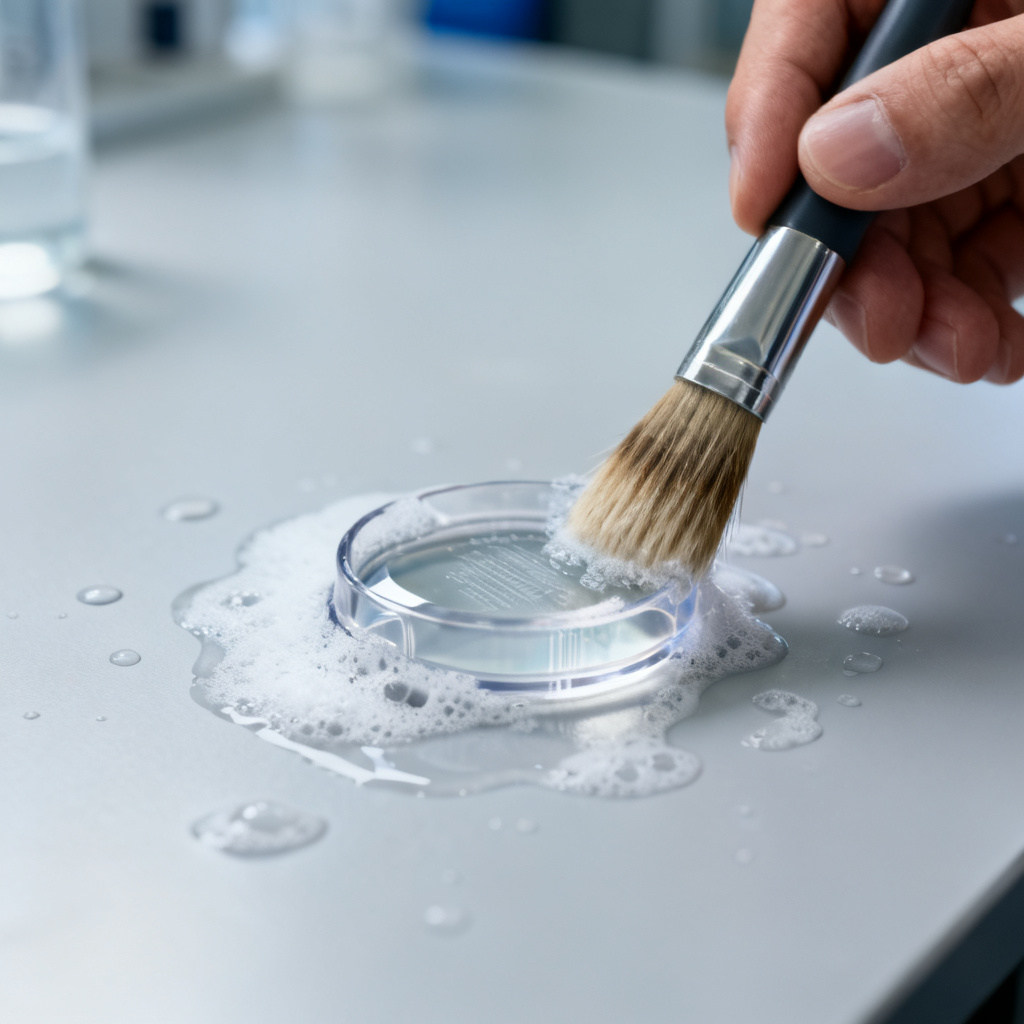
Method 1: Soft Brush and Mild Detergent for Light Biofouling
Use a soft-bristled toothbrush or fine artist’s paintbrush with warm DI water and a few drops of mild dish soap (e.g., Dawn without bleach). Gently brush the cap in circular motions for 10–15 seconds. Rinse thoroughly with DI water and pat dry with a lint-free cloth. This is ideal for weekly or bi-weekly maintenance in clean water applications.
Method 2: Vinegar or Citric Acid Soak for Mineral Scale
For white calcium or limescale deposits, soak the cap in a 1:1 solution of white vinegar (5% acetic acid) and DI water for 5–10 minutes. Do not exceed 15 minutes. Rinse immediately with DI water. If deposits persist, gently brush as in Method 1. Avoid strong acids like hydrochloric or muriatic acid, which can dissolve the protective coating.
Method 3: Isopropyl Alcohol for Oil and Grease
For oily contamination common in aquaculture or industrial settings, use 70% isopropyl alcohol (IPA) diluted 1:1 with DI water. Apply with a cotton swab or soft brush, then rinse immediately with DI water. Avoid 99% IPA, acetone, toluene, or petroleum-based solvents that can dry out or chemically attack the polymer membrane.
Method 4: Hydrogen Peroxide for Stubborn Biofilm
If biofouling persists after soap and vinegar, use 3% hydrogen peroxide diluted 1:1 with DI water. Soak for 2–3 minutes, then rinse thoroughly. Do not use bleach (sodium hypochlorite), which can degrade the fluorescent dye and cause permanent signal loss.
What NOT to Do When Cleaning an Optical DO Sensor Cap
Avoid these common mistakes that ruin caps:
- Never use abrasive tools like steel wool, scouring pads, or hard brushes.
- Never use ultrasonic cleaners, which can delaminate cap layers.
- Never soak in bleach or strong oxidizers.
- Never use high-pressure water jets or dry brushing.
- Never apply force to the cap’s center optical window.
- Never use hot water above 50°C (122°F).
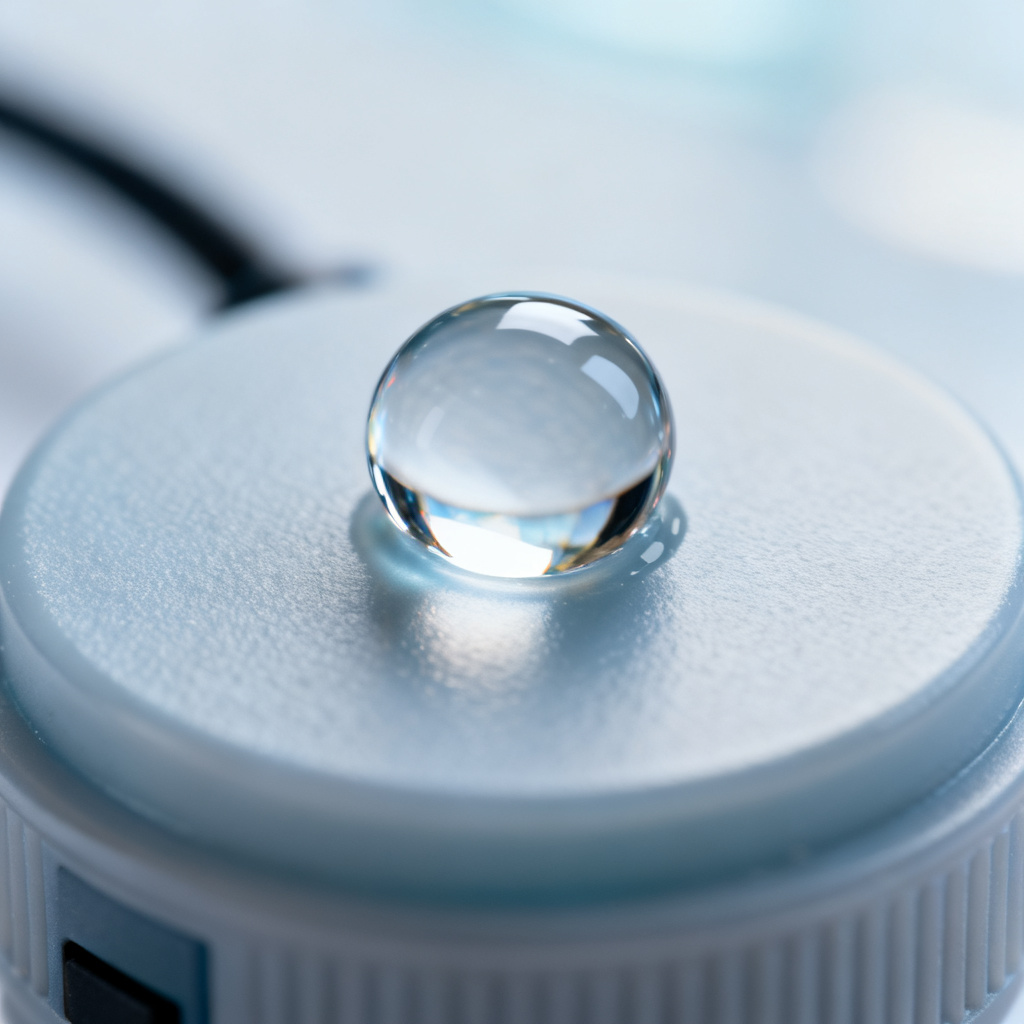
Post-Cleaning Verification of Optical DO Sensor Cap Integrity
After cleaning, inspect the cap under bright light for cracks or cloudiness. Perform a water drop test: if the drop beads up, the membrane is intact. Recalibrate the sensor per manufacturer instructions and check response time—should reach 90% of final reading within 30 seconds in air-saturated water.
Maintenance Schedule to Extend Optical DO Sensor Cap Life
| Frequency | Action | Purpose |
|---|---|---|
| Daily/Weekly | Rinse with DI water after use | Remove loose debris |
| Weekly | Soft brush and mild detergent | Prevent biofouling buildup |
| Monthly | Vinegar soak | Dissolve mineral scale |
| As needed | IPA for oil/grease | Remove hydrophobic films |
| Every 1–2 years | Replace cap | End of useful life |
When to Replace the Optical DO Sensor Cap
Replace the cap if the membrane is torn, wrinkled, or has visible holes; if exposed to harsh solvents accidentally; if persistent drift occurs after cleaning and recalibration; or if the storage life has expired. A new cap costs far less than a full sensor replacement.
Frequently Asked Questions About Cleaning an Optical DO Sensor Cap
Can I use bleach to clean an optical DO sensor cap?
No, bleach (sodium hypochlorite) can degrade the fluorescent dye and cause permanent signal loss. Use only mild detergent, vinegar, 70% IPA, or 3% hydrogen peroxide as recommended.
How often should I clean an optical DO sensor cap?
Frequency depends on water quality. In clean water, weekly rinsing with DI water and monthly gentle cleaning with mild detergent is sufficient. In dirty or biofouling-prone environments, clean more frequently using the methods above.
What is the best way to remove mineral scale from an optical DO sensor cap?
A 5–10 minute soak in a 1:1 solution of white vinegar and DI water is the safest and most effective method for mineral scale. Always rinse thoroughly with DI water afterward.
Can I use an ultrasonic cleaner for optical DO sensor caps?
No, ultrasonic cleaners can delaminate the cap’s layers and damage the internal dye. Stick to manual cleaning with soft brushes and gentle solutions.
How do I know if my optical DO sensor cap is damaged after cleaning?
Inspect under bright light for cracks, cloudiness, or discoloration. Perform a water drop test—if the drop spreads instead of beading, the membrane may be compromised. Recalibrate and check response time; slow response indicates damage.